3 pin flasher relay wiring diagram manual

Understanding the Basics of a 3 Pin Flasher Relay
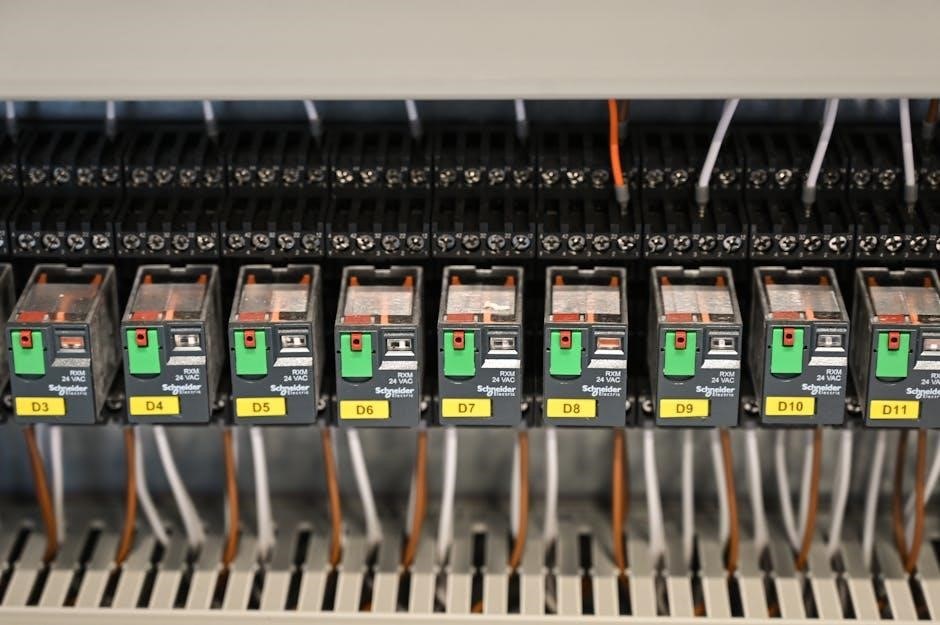
A 3 pin flasher relay is a crucial component in automotive electrical systems, controlling turn signals and hazard lights. It consists of three terminals: power, load, and ground, enabling precise control over signal flashing rates and ensuring reliable operation of safety indicators. This component is essential for maintaining proper traffic communication and vehicle safety.
1.1 What is a 3 Pin Flasher Relay?
A 3 pin flasher relay is an electronic component used to control the flashing of turn signals and hazard lights in vehicles. It features three terminals: power input, output to the lights, and ground. This relay regulates the flashing rate, ensuring signals operate correctly and consistently. It is a vital part of automotive electrical systems, enhancing traffic safety by providing clear and reliable visual indicators.
1.2 Pin Configuration and Functionality
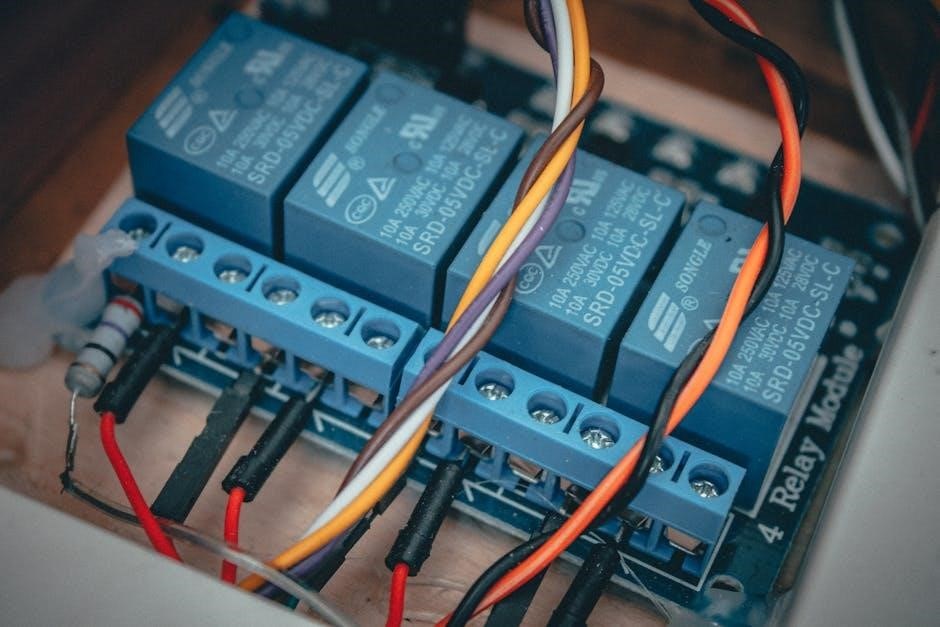
The 3 pin flasher relay has a specific pin configuration: one for power supply, one for the load (lights), and one for ground. The power pin connects to the vehicle’s electrical system, the load pin controls the turn signals or hazard lights, and the ground pin completes the circuit. This setup ensures proper functioning, with the relay pulsing power to create the flashing effect required for safe signaling.

Structure of the 3 Pin Flasher Relay Wiring Diagram
The wiring diagram visually represents the connections between the 3 pin flasher relay and the vehicle’s electrical system. It includes three terminals: power, load, and ground, simplifying installation and troubleshooting by clearly mapping the circuit path for the relay’s operation.
2.1 Visual Representation of the Wiring Diagram
The wiring diagram provides a clear visual layout of the 3 pin flasher relay connections. It illustrates the power source, load, and ground terminals, ensuring a straightforward installation process. Color-coded wires and labeled terminals enhance readability, making it easier to trace circuits and diagnose issues. This visual guide is essential for understanding how the relay integrates with the vehicle’s electrical system, ensuring proper functionality of turn signals and hazard lights. Regular reference to the diagram helps prevent wiring errors and ensures reliable operation of safety-critical systems.
2.2 Terminal Labeling and Color Coding
The terminals of a 3 pin flasher relay are typically labeled with distinct functions. The power terminal is often marked as “X” or “V,” supplying voltage to the relay. The load terminal (“L” or “86”) connects to the turn signals or hazard lights. The ground terminal (“P” or “85”) links to the vehicle’s chassis or ground circuit. Color coding further aids identification: red for power, yellow for load, and black or brown for ground. This standardized labeling ensures accurate connections and simplifies troubleshooting, preventing potential electrical issues during installation or maintenance. Proper understanding of these labels and codes is crucial for safe and effective wiring.
Step-by-Step Installation Guide
Start by locating the flasher relay and disconnecting the battery. Use the wiring diagram manual to identify terminals. Connect the power, load, and ground wires as specified. Test the turn signals and hazard lights to ensure proper functionality. Follow the manual for secure and correct installation to avoid electrical issues.
3.1 Preparing the Vehicle’s Electrical System
Before installing the 3 pin flasher relay, disconnect the battery to prevent electrical shocks. Review the wiring diagram manual to understand the connections. Ensure all wires are clean and securely fastened. Verify the power supply, load, and ground connections match the relay’s terminals. This preparation ensures a stable electrical system and proper flasher relay functionality. Always follow safety guidelines to avoid damage or malfunctions;
3.2 Connecting the Relay to the Turn Signal and Hazard Lights
Connect the relay to the turn signal and hazard lights by following the wiring diagram manual. Attach the load terminal to the turn signal switch and hazard lights. Ensure the power terminal connects to the vehicle’s electrical system and the ground terminal to a reliable ground point. Verify all connections are secure and match the diagram for proper functionality. This ensures synchronized operation of both systems, enhancing safety and visibility on the road.

Troubleshooting Common Issues
Common issues include faulty connections, blown fuses, or incorrect wiring. Check all connections, ensure fuses are intact, and refer to the wiring diagram manual for guidance.
4.1 Identifying Faulty Connections or Components
Use the wiring diagram to locate and inspect all connections. Check for corrosion, loose wires, or incorrect terminal connections. Test the relay’s voltage supply and load circuit using a multimeter. Ensure the ground connection is secure. Verify if the flasher relay is functioning correctly by swapping it with a known working one. Consult the manual for guidance on identifying and replacing faulty components.
4.2 Rectifying Flashing Rate or Signal Malfunction
To fix a faulty flashing rate or signal malfunction, refer to the wiring diagram to verify correct connections. Use a multimeter to check the power supply and load circuit. Ensure the flasher relay is properly grounded and free from corrosion. If issues persist, replace the relay with a compatible one. Adjust the circuit as needed to restore proper signal timing and functionality. Consult the manual for specific repair guidelines.
The Role of the Flasher Relay in Automotive Systems
The flasher relay regulates turn signal and hazard light operations, ensuring synchronized flashing and clear traffic communication for enhanced safety and reliability on the road.
5.1 Controlling Turn Signals and Hazard Lights
The 3 pin flasher relay precisely controls the turn signals and hazard lights by regulating the electrical current flow. It ensures synchronized flashing, providing clear visual signals to other drivers, enhancing road safety. Proper wiring, as shown in the wiring diagram manual, is essential for reliable operation, preventing malfunctions and ensuring compliance with traffic regulations.
5.2 Ensuring Traffic Safety Through Proper Functionality
The proper functioning of a 3 pin flasher relay is vital for ensuring traffic safety. By controlling the consistent and synchronized flashing of turn signals and hazard lights, it provides clear visual communication to other drivers, reducing the risk of accidents. Correct installation, as outlined in the wiring diagram manual, ensures reliable operation, maintaining the integrity of traffic safety systems and driver visibility on the road.
Advanced Applications of the 3 Pin Flasher Relay
The 3 pin flasher relay can be customized for advanced vehicle lighting systems, enabling unique turn signal and hazard light configurations. It integrates seamlessly with modern automotive electronics, such as LED lights and control modules, to enhance functionality and driver experience. This versatility makes it a key component in tailored automotive electrical setups.
6.1 Customizing Turn Signal and Hazard Light Systems
Using a 3 pin flasher relay, you can customize turn signals and hazard lights to meet specific needs. By modifying the wiring diagram, you can create unique signal patterns or integrate additional lights; This customization enhances vehicle safety by providing clear visual signals, ensuring other drivers recognize your intentions. It also allows for personalization, making your vehicle stand out with distinctive lighting configurations. Proper setup ensures reliable operation and compliance with traffic safety standards.
6.2 Integrating the Relay with Modern Vehicle Electronics
Modern vehicles often feature advanced electronics, and integrating a 3 pin flasher relay with these systems is straightforward. By following the wiring diagram, you can connect the relay to electronic control units or CAN bus systems, ensuring compatibility with modern automotive technologies. This integration allows for enhanced functionality, such as programmable flash rates or synchronized lighting systems, while maintaining reliability and safety in signal operations.

Best Practices for Wiring and Maintenance
For reliable operation, consult the wiring diagram manual to ensure secure connections. Regularly inspect terminals and wires for damage or corrosion, and use proper tools to avoid electrical issues.
7.1 Ensuring Secure and Durable Connections
Secure connections are vital for reliable operation. Always consult the wiring diagram manual to ensure proper terminal connections. Use high-quality connectors and avoid loose wires. Soldering or crimping with heat shrink tubing can prevent corrosion. Tighten terminals to the recommended torque to avoid damage. Regularly inspect connections for wear or corrosion and clean them as needed to maintain conductivity. This ensures long-term durability and optimal performance of the 3 pin flasher relay.
- Use weather-resistant materials for outdoor applications.
- Apply dielectric grease to terminals for added protection.
- Ensure all connections are tightly secured to prevent vibration damage.
7.2 Regular Inspection and Maintenance Tips
Regular inspection ensures optimal functionality. Check terminals for corrosion or wear using the wiring diagram manual as a guide. Test the relay’s operation periodically to ensure proper flashing rates. Clean connections with a soft brush or electrical cleaner. Replace any worn or damaged wires immediately. Lubricate terminals if necessary to prevent corrosion. These steps help maintain reliable operation and prevent unexpected failures.
- Inspect wiring for signs of heat damage or fraying.
- Verify that all connections match the wiring diagram specifications.
- Replace the relay if it shows signs of malfunction or wear.

The Importance of the Wiring Diagram Manual
The wiring diagram manual is essential for understanding and working with a 3 pin flasher relay. It provides a clear guide for installation, troubleshooting, and maintenance, ensuring proper connections and functionality. By following the manual, users can avoid errors and ensure the relay operates safely and efficiently, making it indispensable for both DIY enthusiasts and professionals.
8.1 How the Manual Aids in DIY Installations
The wiring diagram manual simplifies DIY installations by providing a step-by-step visual guide. It outlines terminal connections, color coding, and proper wiring sequences, reducing confusion. With clear instructions, users can identify components and ensure correct installation, preventing errors and safety hazards. The manual’s detailed explanations empower individuals to confidently install and troubleshoot the 3 pin flasher relay without professional assistance, saving time and effort.
8.2 Using the Manual for Troubleshooting and Repair
The wiring diagram manual is invaluable for diagnosing and resolving issues with the 3 pin flasher relay. By referencing the manual, users can trace wiring faults, identify faulty connections, and verify terminal functionalities. This guide helps pinpoint problems such as incorrect voltage supply or ground issues, enabling effective repairs. The manual’s detailed schematics ensure accurate troubleshooting, restoring proper operation of turn signals and hazard lights efficiently and safely.

Comparing 3 Pin and 2 Pin Flasher Relays
A 3 pin flasher relay offers enhanced functionality with dedicated terminals for power, load, and ground, enabling control of both turn signals and hazard lights. In contrast, a 2 pin relay provides basic functionality, typically handling simpler circuits without dual-purpose capabilities, making it less versatile for advanced automotive systems.
9.1 Differences in Functionality and Application
A 3 pin flasher relay provides enhanced control, handling both turn signals and hazard lights with dedicated terminals for power, load, and ground. This makes it versatile for complex systems. In contrast, a 2 pin relay offers basic functionality, typically managing simpler circuits without dual-purpose capabilities, making it suitable for applications requiring straightforward on/off switching without advanced control features.
9.2 Choosing the Right Relay for Your Vehicle
Selecting the appropriate relay depends on your vehicle’s electrical system requirements. A 3 pin flasher relay is ideal for modern vehicles needing advanced control over turn signals and hazard lights. For simpler systems or basic applications, a 2 pin relay suffices. Always consult the wiring diagram manual to ensure compatibility and proper installation, guaranteeing optimal functionality and safety.

Safety Precautions When Working with Relays
Avoid electrical shocks by disconnecting the battery before working with relays. Use proper tools to prevent short circuits and ensure safe handling of components.
10.1 Avoiding Electrical Shocks and Short Circuits
When working with a 3 pin flasher relay, always disconnect the battery to prevent electrical shocks. Use insulated tools to avoid short circuits. Ensure all connections are secure and properly insulated. Never touch live wires, and keep the work area dry. Following these precautions ensures a safe environment for handling automotive electrical systems and components.
10.2 Proper Tools and Techniques for Handling Relays
Use insulated tools to prevent electrical shocks and short circuits. A multimeter is essential for diagnosing relay issues. Disconnect the battery before starting work to ensure safety. Ground yourself or use an anti-static strap to prevent static discharge. Refer to the wiring diagram manual for precise connections. Use heat shrink tubing or electrical tape to secure and insulate wires, ensuring reliable and durable connections. Always follow proper soldering techniques if required.
The Evolution of Flasher Relay Technology
Flasher relays have evolved from mechanical to electronic designs, improving reliability and efficiency. Modern relays integrate advanced features like adjustable flashing rates and software-controlled signaling systems for enhanced functionality.
11.1 From Mechanical to Electronic Flasher Relays
Traditional mechanical flasher relays relied on bimetallic strips and electromagnets, while modern electronic relays use solid-state technology for greater durability and efficiency. The shift to electronic designs has reduced power consumption and enabled features like programmable timing and diagnostic capabilities. This evolution enhances reliability and adaptability, making electronic relays a preferred choice for contemporary automotive systems. The wiring diagram manual reflects these advancements, simplifying installation and troubleshooting processes.
11.2 Future Trends in Automotive Signaling Systems
Future trends in automotive signaling systems include the integration of advanced LED solutions and connectivity features. Digitization and smart signaling systems will enhance safety and efficiency. The adoption of IoT-enabled devices will revolutionize how vehicles communicate through signals. Customizable signaling options and energy-efficient designs are expected to dominate, aligning with the evolution of electric vehicles and autonomous systems. These innovations will redefine the role of flasher relays in modern vehicles.
Mastering the 3-pin flasher relay wiring diagram ensures safe and efficient installations. Always follow the manual, verify connections, and test functionality. Regular maintenance prevents malfunctions and enhances safety.
12.1 Summary of Key Takeaways
Understanding the 3-pin flasher relay wiring diagram is essential for proper installation and troubleshooting. It controls turn signals and hazard lights, ensuring safety and compliance. The manual provides clear guidance on terminal connections and functionality. Regular maintenance and adherence to safety protocols are crucial for reliable operation. Familiarizing yourself with the wiring diagram and following best practices will help prevent electrical issues and ensure optimal performance of your vehicle’s signaling system.
12.2 Encouraging Further Exploration and Learning
Exploring beyond the basics of the 3-pin flasher relay wiring diagram can deepen your understanding of automotive electrical systems. Consider experimenting with custom circuits or advanced diagnostic tools to enhance your skills. Engaging with automotive forums and manuals can provide valuable insights. Encourage continuous learning by tackling hands-on projects and staying updated on emerging technologies in vehicle electronics and signaling systems.