minolta xg m user manual

The Minolta XG-M is a compact SLR camera from the X series, offering aperture-priority and manual modes. It features MD lens compatibility and a user-friendly design.
1.1 Overview of the Minolta XG-M Camera
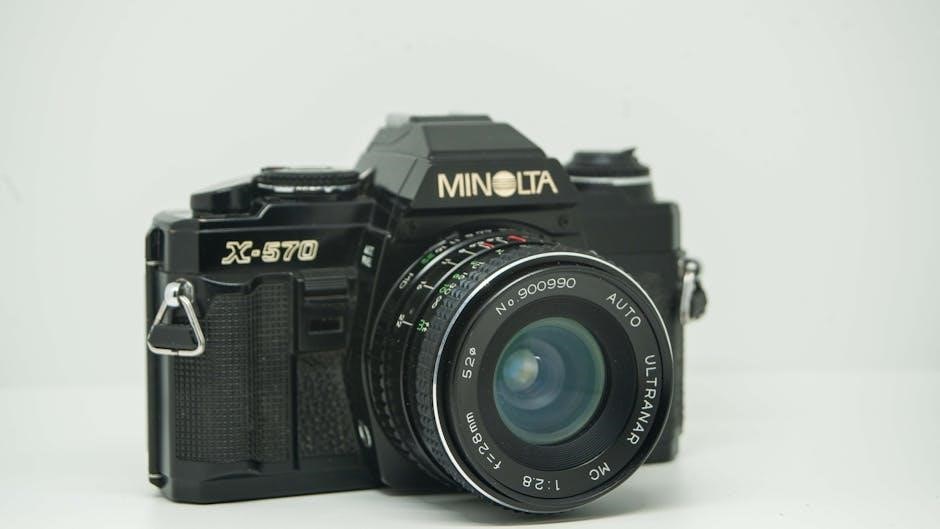
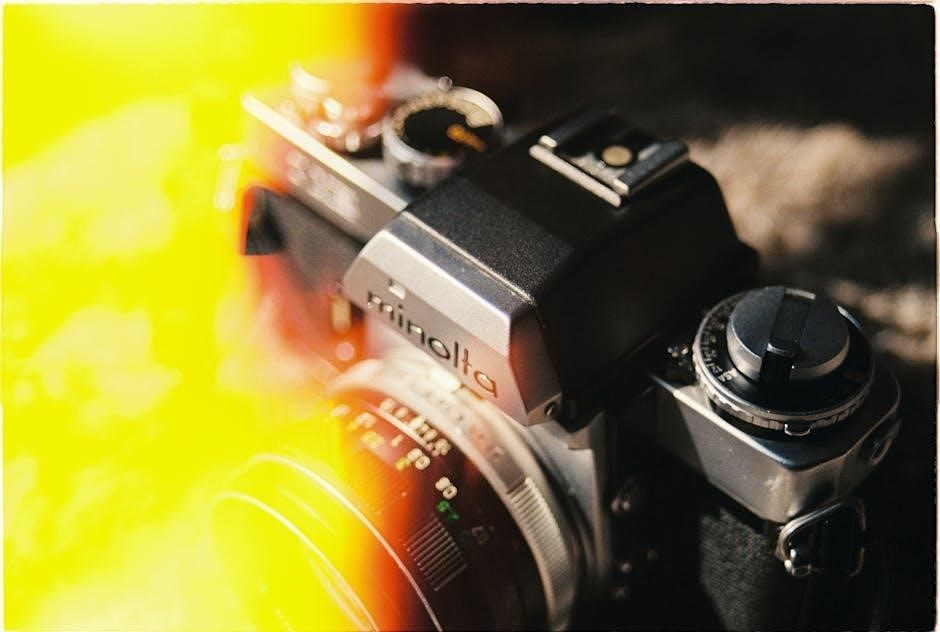
The Minolta XG-M is a compact and user-friendly single-lens reflex (SLR) camera from Minolta’s X series, introduced in the early 1980s. It offers aperture-priority and manual exposure modes, making it versatile for both casual and advanced photographers. The camera features a robust build, MD lens compatibility, and a built-in light meter for accurate exposures. Its design emphasizes ease of use, with intuitive controls and a clear viewfinder. The XG-M is part of Minolta’s legacy of producing high-quality, accessible cameras, making it a popular choice among film photography enthusiasts. This manual provides a comprehensive guide to unlocking its full potential, ensuring optimal performance and creativity.
1.2 Key Features of the Minolta XG-M
The Minolta XG-M boasts several standout features, including aperture-priority and manual exposure modes, allowing photographers to balance creativity with control. It uses MD mount lenses, ensuring compatibility with a wide range of optics. The built-in light meter provides accurate exposures, and the viewfinder displays essential shooting information. The camera also features a mechanical shutter and manual film advance, appealing to purists. Its compact design and intuitive controls make it accessible for beginners while offering enough depth for experienced shooters. These features, combined with Minolta’s reputation for quality, make the XG-M a reliable and versatile tool for film photography enthusiasts seeking precision and flexibility.
1.3 First Impressions and User Experience
The Minolta XG-M leaves a lasting impression with its sturdy build and elegant design, appealing to both novice and experienced photographers. Its intuitive controls and ergonomic layout make it easy to navigate, while the satisfying mechanical feedback of the shutter and film advance enhances the shooting experience. Many users appreciate its portability and balance, making it a joy to carry and use. The camera’s reliability and responsiveness have earned it a loyal following among film enthusiasts. Whether you’re experimenting with manual modes or relying on aperture-priority, the XG-M delivers a seamless and rewarding photographic experience that keeps users coming back for more. Its timeless appeal ensures it remains a beloved choice in the world of film photography.
Getting Started with the Minolta XG-M
Unpack and familiarize yourself with the camera’s components. Ensure proper setup, including lens attachment and film loading, to begin capturing moments effortlessly with this intuitive SLR.
2.1 Unpacking and Initial Setup
When unpacking your Minolta XG-M, carefully remove the camera, lenses, and accessories from the box. Inspect each item for any damage or defects. Begin by attaching the provided neck strap for secure handling. Next, ensure the viewfinder is clean and free of obstructions. Familiarize yourself with the camera’s layout, including the shutter release, aperture ring, and mode dial. Before use, install the batteries required for the light meter. Finally, refer to the manual for initial settings to ensure optimal performance. Proper setup ensures a seamless shooting experience with your Minolta XG-M.
2.2 Understanding the Camera Layout
The Minolta XG-M features an intuitive design with key controls easily accessible. The top plate houses the shutter speed dial, mode switch, and hot shoe for flash. The lens area includes the aperture ring and manual focusing ring. The viewfinder provides a clear view for composition, displaying LED indicators for exposure information. The bottom of the camera includes the rewind knob and battery compartment. Familiarize yourself with the film advance lever and frame counter on the top right. Understanding each component’s location and function is essential for efficient operation. Refer to the manual for a detailed diagram to ensure proper familiarity with your camera’s layout.
2.3 Basic Camera Controls and Functions
The Minolta XG-M features a straightforward control layout designed for ease of use. The mode dial on the top plate allows switching between aperture-priority and manual modes. The shutter speed dial, located alongside the mode switch, enables precise control over exposure settings. The aperture ring on the lens controls the f-stop, while the manual focusing ring ensures sharp focus. The film advance lever advances the film and cocks the shutter, and the rewind knob is used to rewind the film once the roll is complete. The viewfinder displays LED indicators for exposure information, guiding you to achieve the perfect shot. Each control is intuitively placed, making the camera user-friendly for photographers of all skill levels.
Loading Film in the Minolta XG-M
Loading film involves pulling the leader, aligning it with the spool, and advancing until secure. Ensure proper tension for accurate film transport and exposure.
3.1 Step-by-Step Film Loading Guide
Open the camera back by pulling the release latch. Pull the film leader and align it with the spool. Close the back, ensuring the leader is secure. Turn the rewind knob gently to advance the film until it stops. This ensures proper tension and prepares the camera for use. Always check the film counter to confirm loading success.
3.2 Film Speed and ISO Settings
Set the film speed (ISO) on the Minolta XG-M by rotating the dial on the top of the camera until the desired ISO matches the film loaded. Ensure the ISO setting aligns with the film’s speed for accurate exposure. Incorrect settings can lead to overexposed or underexposed images. The camera supports a range of ISO values, typically from 12 to 3200, depending on the film used. Always refer to the film’s packaging for the correct ISO rating. Properly setting the ISO ensures optimal performance and image quality. Match the film speed carefully to achieve the best results. Accurate ISO settings are crucial for reliable exposure control.
3.3 Film Advance and Rewind
To advance the film, depress the film advance lever located on the top right of the camera until it stops. You’ll feel a slight resistance and hear a soft click, indicating the film has advanced to the next frame. After the last exposure, the lever will not stop, signaling the need to rewind the film. To rewind, press the small rewind button on the camera’s bottom while turning the rewind knob counterclockwise. Continue until the tension eases, confirming the film is fully rewound. Open the camera back carefully to avoid exposure. Proper rewinding ensures the film is safely returned to its canister for processing.

Mounting and Removing Lenses
The Minolta XG-M uses MD mount lenses. To mount, align the lens mark with the camera’s red dot and twist until secure. Remove by pressing the lens release button and turning the lens counterclockwise.
4.1 Lens Compatibility and Mount Type
The Minolta XG-M is compatible with lenses featuring the MD mount system, ensuring optimal performance and compatibility. This mount type allows for seamless communication between the lens and camera, enabling accurate aperture control and metering. The MD mount is specifically designed for the X series, including models like the XG-M, XD, and X-700, and is not backward compatible with older SRT series bodies. Users can utilize a wide range of MD-mount lenses, from standard zooms to specialized primes, to enhance their photographic capabilities. This compatibility ensures versatility and flexibility for photographers seeking to expand their lens collection.
4.2 Proper Lens Mounting Technique
Mounting a lens on the Minolta XG-M requires care to ensure proper alignment and secure fitting. First, locate the lens mount on the camera body and align the lens’s mounting index with the camera’s mark. Gently rotate the lens clockwise until it clicks into place, ensuring it is snug and evenly seated. For MD-mount lenses, this process is straightforward due to the standardized design. Avoid forcing the lens, as this could damage the mount or lens threads. Once mounted, test the lens by gently twisting it to confirm it is securely locked in place. Proper mounting ensures accurate aperture control and optimal image quality.
4.3 Lens Removal and Storage
To remove a lens from the Minolta XG-M, press the lens release button located on the camera’s mount and twist the lens counterclockwise until it detaches. Store lenses in a protective case or pouch to prevent scratches and dust. Avoid exposing lenses to extreme temperatures or humidity. For added protection, attach lens caps to both the front and rear elements. Clean lenses gently with a microfiber cloth before storage. Proper storage ensures the longevity and optical performance of your lenses. Always handle lenses by their edges to avoid smudging the glass surfaces. Regularly inspect stored lenses for signs of damage or degradation.

Exposure Modes and Metering
The Minolta XG-M offers aperture-priority and manual exposure modes, with a built-in light meter for accurate readings. It provides flexible metering options for precise control over lighting conditions.
5.1 Aperture-Priority Mode
The Minolta XG-M’s aperture-priority mode allows photographers to set the desired aperture, while the camera automatically adjusts the shutter speed for optimal exposure. This mode is ideal for controlling depth of field, with the lens aperture directly influencing the sharpness of the image. Users can select apertures from the lens’s aperture ring, and the camera’s built-in meter ensures accurate shutter speed settings. The viewfinder displays the recommended shutter speed via LED indicators, enabling quick verification. This mode is particularly useful for portraits and landscapes, where aperture control is critical. The XG-M’s intuitive design makes it easy to switch between aperture-priority and manual modes, offering flexibility for various shooting scenarios.
5.2 Manual Exposure Mode
In manual exposure mode, the Minolta XG-M offers full control over both aperture and shutter speed, allowing photographers to customize settings for precise results. The camera features a metered manual mode, where the built-in light meter provides recommended exposure values, but the user retains full control. Exposure compensation of ±2 stops is available, enabling fine adjustments. The viewfinder displays the selected aperture and shutter speed, along with the meter’s recommended settings, making it easy to monitor and adjust. This mode is ideal for experienced photographers seeking creative control or shooting in challenging lighting conditions. The XG-M’s intuitive design ensures seamless operation, even in manual mode.
5.3 Built-in Light Meter and Metering Modes
The Minolta XG-M features a built-in light meter that provides accurate exposure calculations, enhancing both aperture-priority and manual modes. In aperture-priority, the meter automatically adjusts the shutter speed for optimal exposure. In manual mode, it offers recommended settings while allowing full control. The metering system is intuitive, displaying essential information in the viewfinder, including aperture, shutter speed, and exposure compensation. This ensures photographers can make precise adjustments effortlessly. The light meter’s reliability and ease of use make it a standout feature, catering to both novice and experienced photographers seeking consistent results in various lighting conditions. Its functionality is integral to the camera’s appeal and performance.
Focusing and Composition
The Minolta XG-M offers precise manual focusing and a bright viewfinder for accurate composition. Its depth of field preview enhances control over image sharpness and framing.
6.1 Manual Focusing Techniques
Manual focusing on the Minolta XG-M is straightforward, utilizing a smooth, precise focusing ring. The lens features a mechanical aperture ring for easy adjustments. Users can employ techniques like pre-focusing for moving subjects or using focus lock for stationary ones. The viewfinder provides clear visibility, aiding in accurate focus acquisition. For optimal results, shooters should use the depth of field preview to ensure desired sharpness. Proper technique ensures sharp images and precise control over the composition. Regular practice enhances familiarity with the lens’s handling and focusing characteristics, making manual focusing a enjoyable and effective process.
6.2 Using the Viewfinder for Composition
The Minolta XG-M’s viewfinder is designed for precise composition. It features a bright, clear display with a split-image microprism for accurate focusing. Users can easily frame their shots, ensuring proper alignment and balance. The viewfinder also displays essential exposure settings like aperture and shutter speed, helping photographers make informed decisions. For optimal results, shooters should adjust the diopter to their vision for sharp viewing. The viewfinder’s clarity enhances the ability to assess depth of field and subject placement. Regular use hones compositional skills, making the XG-M a reliable tool for capturing well-framed images. Proper technique ensures sharp focus and artistic control over every frame.
6.3 Depth of Field Preview
The Minolta XG-M features a depth of field preview button, allowing photographers to assess the focus range before capturing an image. By pressing this button, the aperture closes to the selected f-stop value, providing a precise view of how much of the scene will be in focus. This feature is particularly useful for ensuring sharpness in critical areas while blurring unwanted backgrounds. It enables photographers to make informed adjustments to composition and aperture settings. The depth of field preview enhances control over image sharpness and bokeh, making it an essential tool for achieving professional-quality results. Regular use of this feature improves compositional accuracy and overall image quality.
Flash and Additional Accessories
The Minolta XG-M supports a built-in flash and external flash units for enhanced lighting control. Additional accessories like lens hoods and remote shutters can improve functionality.
7.1 Built-in Flash and Sync Modes
The Minolta XG-M features a built-in flash that automatically engages when attached, setting the shutter speed to 1/60th of a second. It supports both M and X sync modes, ensuring compatibility with various flash units. The flash provides reliable illumination for low-light conditions and supports aperture-priority and manual modes. A manual override allows for creative control over flash output. The built-in flash covers a wide angle and has a guide number of 12 in meters, making it suitable for everyday photography. This feature enhances versatility, offering users a convenient and effective lighting solution without the need for external flash units.
7.2 Using External Flash Units
The Minolta XG-M supports external flash units, offering enhanced lighting control for photographers. Compatibility is ensured through the hot shoe mount and PC connector, allowing synchronization with a variety of flash models. The camera operates in X-sync mode at 1/60th of a second, providing consistent results with external flashes. Users can manually adjust flash settings for precise illumination. External flashes can be triggered via the camera’s sync terminal, enabling off-camera lighting setups. This flexibility makes the XG-M adaptable for advanced photography needs, allowing photographers to achieve professional-grade lighting effects in diverse shooting environments.
7.3 Optional Accessories for Enhanced Functionality
The Minolta XG-M can be enhanced with a range of optional accessories to maximize its performance. Additional lenses, such as the popular 50mm f/1.7, expand creative possibilities. The Acute-matte focusing screen improves manual focusing accuracy. A remote shutter release minimizes camera shake, while a dedicated camera case protects the equipment. External flash units, like the Minolta Auto Electro Flash, offer advanced lighting control. These accessories enhance functionality, allowing photographers to explore various shooting styles and conditions. Investing in these extras elevates the XG-M’s versatility, making it a robust tool for both casual and professional photography. They ensure optimal results and long-term protection for the camera.

Maintenance and Troubleshooting
Regular cleaning of the camera and lenses ensures optimal performance. Address common issues like mirror or shutter malfunctions promptly. Proper storage prevents long-term damage and maintains functionality;
8.1 Cleaning the Camera and Lenses
Regular cleaning is essential for maintaining the Minolta XG-M’s performance. Use a soft, dry cloth to wipe down the camera body, paying attention to areas around buttons and dials. For the lenses, employ a microfiber cloth and a mild cleaning solution to remove smudges and fingerprints. Avoid harsh chemicals or abrasive materials that could damage the lens coatings. The viewfinder should also be cleaned gently with a dry cloth to ensure clear visibility. For stubborn spots on the lens, dampen the cloth slightly but avoid moisture entering the camera. Regular cleaning prevents dust and grime from affecting image quality and camera functionality.
8.2 Common Issues and Solutions
Common issues with the Minolta XG-M include film loading misalignment, battery drain, and occasional shutter lag. For film loading, ensure the film leader is properly aligned with the take-up spool. If the battery drains quickly, check for corrosion on the contacts or replace the SR44 batteries. Shutter lag can be minimized by using the manual focus and avoiding unnecessary flash use. Additionally, ensure lenses are securely mounted to prevent misalignment. For persistent issues, refer to the manual or consult a professional. Regular maintenance and proper handling can prevent most problems, ensuring optimal performance and longevity of the camera.
8.3 Storage and Long-Term Care
Proper storage and long-term care are essential to maintain the Minolta XG-M’s functionality and longevity. Store the camera in a cool, dry place away from direct sunlight to prevent damage to the electronics and exterior. Use a protective case or pouch to shield the camera from dust and physical damage. When not in use for extended periods, remove the batteries to avoid corrosion. Clean the camera and lenses thoroughly before storage and ensure all components are dry to prevent mold. Consider using silica gel packets to maintain a dry environment. For lenses, store them in individual pouches to protect against scratches. Regularly inspect stored items to ensure they remain in good condition.

Tips for Optimal Use
For optimal use, experiment with aperture-priority and manual modes, keep the camera clean, and use the built-in meter for accurate exposures. Store properly when not in use.
9.1 Best Practices for Shooting
When using the Minolta XG-M, start by familiarizing yourself with its aperture-priority mode for creative control. For precise results, utilize the built-in light meter, ensuring accurate exposures. Experiment with different film speeds and ISO settings to adapt to various lighting conditions. Regularly clean the lens and camera body to maintain image quality. Store the camera in a dry, cool place to prevent damage. Always rewind film completely before removing it to avoid exposure. Practice manual focusing techniques for sharper images and compose shots thoughtfully using the viewfinder. These practices will enhance your photography experience and ensure optimal performance from your Minolta XG-M.
9.2 Customizing Camera Settings
The Minolta XG-M allows customization of settings to suit your photography style. In aperture-priority mode, adjust the aperture to control depth of field, while the camera automatically sets the shutter speed. For manual mode, set both aperture and shutter speed independently, with the built-in meter guiding your selections. Exposure compensation can be adjusted from -2 to +2 stops, enabling fine-tuning for challenging lighting conditions. The LED display in the viewfinder provides clear feedback on settings. Experiment with these features to tailor the camera’s performance to your creative vision, ensuring optimal results in various shooting scenarios. Refer to the manual for detailed guidance on customization options.
9.3 Maximizing Image Quality
To maximize image quality with the Minolta XG-M, ensure proper film handling and precise exposure control. Use the built-in meter to guide your settings, and consider bracketing shots for challenging lighting. The camera’s aperture-priority mode simplifies achieving optimal depth of field, while manual mode offers full creative control. Regularly clean the lens and camera internals to avoid dust and smudges. Experiment with different film speeds and types to match your desired aesthetic. Properly compose shots using the viewfinder’s grid and depth of field preview. Store film in a cool, dry place and load it in low-light conditions to minimize exposure. Refer to the manual for tips on maintaining peak performance and image clarity.
The Minolta XG-M is a reliable, easy-to-use film camera with excellent image quality. Its durability, intuitive design, and compatibility with MD lenses make it a favorite among enthusiasts.
10.1 Final Thoughts on the Minolta XG-M
The Minolta XG-M is a timeless film camera renowned for its durability, intuitive design, and excellent image quality. Its aperture-priority and manual modes offer creative control, while the MD lens compatibility expands versatility. The detailed user manual serves as an essential guide for mastering its features. With a loyal community and abundant resources, the XG-M remains a beloved choice for photographers seeking a reliable and rewarding shooting experience. Whether for beginners or seasoned enthusiasts, the Minolta XG-M continues to inspire with its blend of simplicity and capability, making it a cherished tool in the world of analog photography.
10.2 Resources for Further Learning
For deeper exploration of the Minolta XG-M, the official user manual is an invaluable resource, providing detailed insights into camera operations. Online forums and photography communities, such as those dedicated to film cameras, offer extensive discussions and user experiences. Websites like mikebutkus.org host a comprehensive library of camera manuals, including the XG-M. Additionally, YouTube channels and blogs focused on analog photography often feature tutorials and reviews of the Minolta XG-M. Workshops or local photography groups can also provide hands-on learning opportunities. These resources collectively enhance your understanding and mastery of the Minolta XG-M, ensuring you maximize its potential.