harvia sauna heater manual

This manual provides essential guidance for installing, operating, and maintaining Harvia sauna heaters. Designed for users, it ensures safe and efficient use of your sauna system.
Overview of Harvia Sauna Heaters
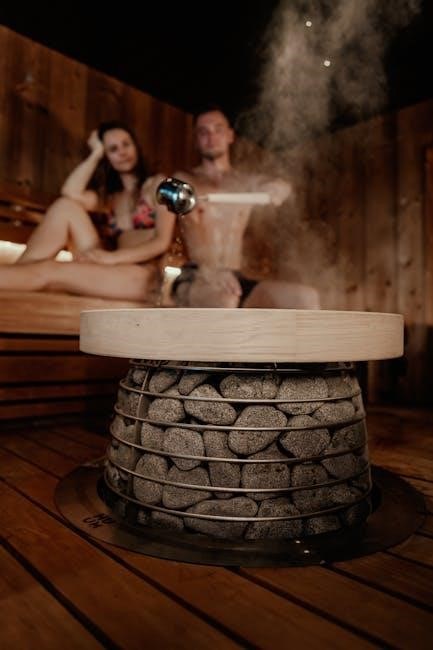
Harvia sauna heaters are renowned for their high-quality electric heating solutions, designed to enhance your sauna experience. These heaters are wall-mounted, energy-efficient, and equipped with built-in controls for precise temperature regulation. Available in various models, such as the K10G-U1 and KIP series, they cater to different sauna sizes and user preferences. Harvia heaters are celebrated for their durability, safety, and ease of use, making them a popular choice for both residential and commercial sauna setups.
Importance of Reading the Manual
Reading the Harvia sauna heater manual is crucial for ensuring safe and efficient operation. It provides detailed instructions for installation, maintenance, and troubleshooting, helping users avoid potential hazards. The manual also outlines warranty terms, ensuring you understand coverage and duration. By following the guidelines, you can optimize energy use and extend the heater’s lifespan. Proper installation and usage, as per the manual, are essential for performance and safety, making it a indispensable resource for all users.
Key Features of Harvia Sauna Heaters
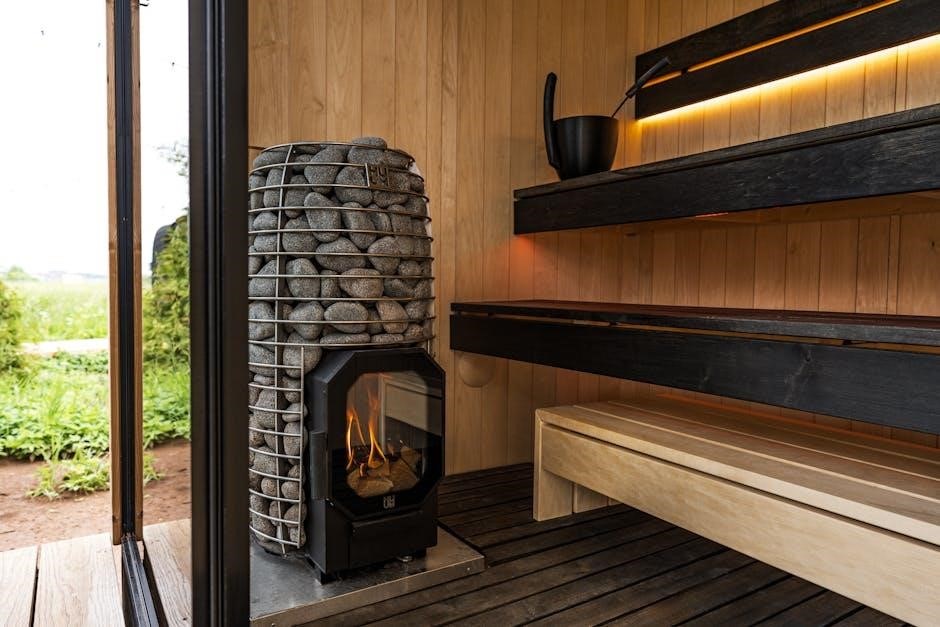
Harvia sauna heaters are known for their energy efficiency, durability, and advanced control systems. They feature built-in controls for precise temperature regulation and timers for convenient use. Designed for both residential and commercial settings, these heaters offer a range of power options to suit different sauna sizes. Harvia heaters are also built with high-quality materials, ensuring long-term reliability and consistent performance. Their modern and traditional designs cater to various preferences, making them a versatile choice for any sauna setup.
Pre-Installation Requirements
Before installation, assess your sauna space and calculate its volume to ensure the heater’s compatibility. Select the appropriate model and prepare the area according to safety standards.
Calculating Sauna Volume
To ensure optimal performance, calculate your sauna’s volume by measuring its length, width, and height in meters. Multiply these dimensions to get the cubic volume. Consider factors like insulation quality and window size, as they affect heat retention. Proper calculation ensures the heater’s power matches the space, preventing inefficiency or overheating. Use this data to select the right Harvia model for your sauna, ensuring a safe and enjoyable experience; Incorrect sizing can lead to poor performance or safety hazards.
Choosing the Right Heater Model
Selecting the correct Harvia heater model involves matching your sauna’s volume and desired temperature. Consider factors like space dimensions, insulation quality, and personal preferences. Harvia offers various models, such as the KIP and Griffin series, each designed for different sauna sizes and needs. Refer to the product specifications in the manual to ensure compatibility. Proper selection ensures efficient heating, energy savings, and a satisfying sauna experience. Always consult the guidelines to avoid under-sizing or over-sizing the heater for your space.
Before installing your Harvia sauna heater, ensure the space is properly prepared. The area should be well-ventilated and free from flammable materials. Check that the floor is level and made of heat-resistant material. Walls and ceilings must be constructed from non-combustible or fire-rated materials. Ensure the sauna is insulated to retain heat efficiently. Additionally, verify that the space is dry and clear of debris. Proper preparation ensures safe and optimal heater performance, adhering to safety standards and manufacturer recommendations. Always follow local building codes and guidelines. This section outlines the necessary steps and precautions for installing Harvia sauna heaters. Follow these guidelines to ensure a safe and correct installation process. Begin by planning the sauna layout and selecting the heater location. Ensure the area is clear and meets safety requirements. Next, connect the electrical wiring as per the manual, ensuring all connections are secure. Mount the heater on a sturdy wall using the provided brackets. Fill the rock cavity with igneous stones from an official supplier. Finally, test the heater to ensure proper function. Always follow the manufacturer’s instructions for a safe setup. The Harvia sauna heater requires a dedicated 220-240V electrical circuit. Ensure the wiring is appropriately sized to handle the heater’s power consumption. A licensed electrician should perform all connections to meet local safety standards. Use high-quality, heat-resistant cables and avoid any extensions or adapters. Double-check all connections for tightness and safety before powering on. Always refer to the manual for specific voltage and amperage requirements to ensure compliance and prevent electrical hazards. Mount the Harvia heater securely on a wall using the provided brackets, ensuring it is level and stable. Position it at least 12 inches above the floor and away from flammable materials. The heater should be installed in a well-ventilated area, avoiding direct contact with water or excessive humidity. Follow the manufacturer’s guidelines for spacing and alignment to ensure optimal performance and safety. Always verify the installation site meets the specified clearance requirements before securing the unit. This section provides detailed steps for safely operating your Harvia sauna heater, including temperature settings and control usage, ensuring an optimal sauna experience for all users. To start the Harvia sauna heater, ensure the power is turned on and the heater is properly connected. Fill the rock cavity with igneous stones from an official source. Set the desired temperature and timer using the built-in controls. Allow the heater to preheat for 30 minutes before the first use. Always follow the manufacturer’s instructions for safe and efficient operation. Ensure the sauna is vented properly and the heater is on a level surface to avoid any safety hazards. The Harvia sauna heater features advanced temperature control, allowing you to set your preferred heat level. Use the built-in digital controls to adjust the temperature between 60°C and 100°C for optimal comfort. The timer function enables you to pre-set heating duration, ensuring the sauna is ready when needed. Always follow the recommended temperature range to avoid overheating. The heater also includes safety features like automatic shut-off and temperature limits to prevent excessive heat buildup, ensuring a safe and enjoyable sauna experience. The Harvia sauna heater is equipped with intuitive built-in controls, allowing easy adjustment of temperature, timer, and optional light settings. Use the digital interface to set your desired heat level and duration. The controls feature a clear display for monitoring the current temperature and time remaining.Press the power button to start the heater and adjust settings using the arrows. For added convenience, some models include a remote control. Always refer to the manual for specific control functions to ensure optimal performance and safety during operation. Regular maintenance ensures your Harvia sauna heater operates efficiently and safely. Clean the heater and surrounding areas to prevent dust buildup and maintain functionality. Regularly clean the Harvia sauna heater and its surroundings to ensure optimal performance. Use a damp cloth to wipe down the heater, removing any dust or debris. Avoid harsh chemicals, as they may damage the finish. Clean the stones periodically to prevent mineral buildup. Ensure the area around the heater is clear of obstructions for proper airflow. Regular cleaning prevents corrosion and maintains efficiency, ensuring a safe and enjoyable sauna experience. Always unplug the heater before cleaning for safety.
Heating elements in your Harvia sauna heater may need replacement over time. Always switch off power before attempting replacement. Remove the heater’s front panel and disconnect the old elements carefully. Install new elements, ensuring proper connections. Replace the panel and test the heater. Use genuine Harvia parts to maintain performance and safety. Refer to the manual for detailed instructions. Regular inspections can prevent unexpected failures, ensuring continuous enjoyment of your sauna experience. Always follow safety guidelines when handling electrical components. To ensure optimal performance, schedule regular maintenance for your Harvia sauna heater. Clean the heater and surrounding areas every month to prevent dust buildup. Inspect heating elements annually for damage or wear. Check electrical connections and controls for proper function. Replace any worn-out parts promptly. Drain and clean the water tank, if applicable, to maintain hygiene. Follow the manufacturer’s guidelines for specific maintenance tasks. A well-maintained heater enhances safety, efficiency, and longevity, providing consistent sauna experiences. Always refer to the manual for detailed maintenance schedules. This section helps identify and resolve common problems with your Harvia sauna heater. Address heating, electrical, and control malfunctions effectively with practical solutions. Common issues with Harvia sauna heaters include the unit not turning on, uneven heating, or excessive heat. Check the power supply and ensure the thermostat is functioning correctly. If the heater doesn’t activate, verify electrical connections and reset the circuit breaker if necessary. For heating element problems, inspect for damage or mineral buildup. Ensure proper airflow around the heater. Refer to the manual for troubleshooting steps or consult a professional if issues persist. Regular maintenance can prevent many heating-related problems. If the Harvia sauna heater experiences electrical problems, start by checking the power supply and ensuring all connections are secure. Verify that the circuit breaker hasn’t tripped or blown a fuse. Inspect the wiring for damage or corrosion. If issues persist, consult the manual or contact a licensed electrician. Avoid attempting complex repairs yourself to prevent safety hazards. Regularly inspecting electrical components can help identify and resolve issues early, ensuring reliable operation of your sauna heater. Always follow safety guidelines when addressing electrical concerns. If the Harvia sauna heater’s controls malfunction, start by restarting the system. Ensure all settings are correct and the power supply is stable. Check for loose connections or worn buttons. If the issue persists, refer to the manual for troubleshooting steps. For complex problems, contact Harvia support or a certified technician. Regular maintenance, like cleaning controls, can prevent malfunctions. Always follow safety precautions when addressing control issues to ensure optimal performance and longevity of your sauna heater. Harvia sauna heaters are covered by a one-year warranty from the date of purchase. This includes parts like heating elements, controls, and contactors. Refer to the manual for details. The Harvia sauna heater is covered by a one-year warranty from the date of purchase. This warranty includes all heater parts, such as heating elements, controls, and contactors. Proper installation by a licensed professional is required to validate the warranty. Damage caused by improper use or installation is not covered. For full details, refer to the manual provided with your Harvia sauna heater. Warranty terms are non-transferable and apply only to the original purchaser. The Harvia sauna heater warranty covers all internal components, including heating elements, controls, and contactors, for a period of one year from the purchase date. Damage caused by improper installation or misuse is excluded. Ensure all installations are performed by a licensed electrician to maintain warranty validity. External parts and accessories may not be included under the standard warranty terms. Always review the manual for specific details on covered components and duration. To file a warranty claim for your Harvia sauna heater, contact the dealer where you purchased the product or reach out directly to Harvia customer support. Provide proof of purchase and a detailed description of the issue. Ensure the product is installed correctly and adheres to all manufacturer guidelines. Claims must be submitted within the warranty period, typically one year from purchase; Follow the instructions provided by Harvia support to resolve the issue promptly and efficiently.Preparing the Sauna Space

Installation Guidelines
Step-by-Step Installation Process
Electrical Wiring Requirements
Physical Installation of the Heater
Operating Instructions
Starting the Sauna Heater
Temperature Control and Settings
Using the Built-In Controls
Maintenance and Care
Cleaning the Heater and Surroundings
Replacing Heating Elements
Regular Maintenance Schedule
Troubleshooting Common Issues
Identifying and Solving Heating Problems
Resolving Electrical Issues
Addressing Control Malfunctions
Warranty and Guarantee Information
Understanding the Warranty Terms
Covered Parts and Duration
How to File a Warranty Claim